I own a Garmin GPS that I wanted to update. It’s about a year old and the maps are not up-to-date. For example, it does not include the new second Penang bridge. Garmin provides updated maps on its website but the installer runs in Windows. Since I did not have a Windows machine available, I had to find another way.
Turns out that Microsoft gives away time-limited virtual machine images of Windows, primarily for browser testing. So, I downloaded the smallest one – IE6 on WinXP. After that, it had to be extracted from the archive. This can be done by:
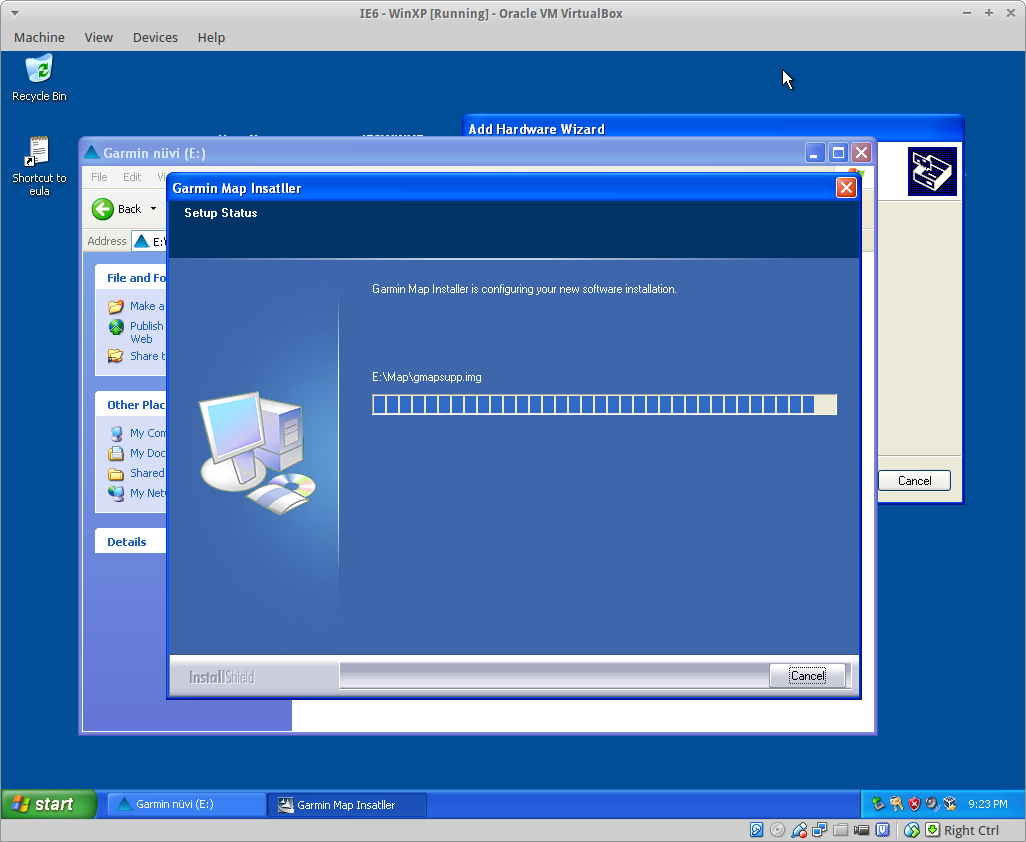
Next, the extracted OVA file needs to be imported into VirtualBox and run.
After that, it’s just a matter of using the browser to download the update from Garmin and running the map.
Note: We just need to make sure that the Garmin is configured as a USB storage device and that it is attached to the virtual machine, instead of the host machine.
I respect the amount of dedication and genius that went into this effort. While nothing new, it’s totally CRAZY.
This project takes the Church-Turing thesis to an extreme. In essense, it states that “everything algorithmically computable is computable by a Turing machine.”
Some may wonder how he managed to get it all to work. So, let’s break it down a little:
CPU
According to the thesis, any CPU is able to emulate the operations of another CPU. So, while the AVR is an 8-bit micro, it can definitely be used to emulate all the complex functions available on the more powerful ARMv5 in software.
As an example, if I needed to do a 32-bit addition, all I would need to do is to do four 8-bit additions factoring in the Carry bits. So, depending on whether the 8-bit architecture supported a Add with Carry instruction, I might need to do an additional three 8-bit additions for a total of seven additions. In the end, I’d still end up with a 32-bit addition.
For many 8-bit microprocessors, there are already existing libraries to do such things because it is a fairly common requirement as 8-bit microprocessors find use in all sorts of unexpected applications where they might need to do 32-bit calculations anyway.
Take this analogy further, you can also do floating-point calculations emulated in software on a pure integer machine. This is done all the time, even on full fledged ARM architectures. In actual fact, all you’d need to build any computer in this world is a 1-bit computer.
RAM
This is where the 16KB RAM in the 8-bit micro has serious deficiencies. Linux would typically need several megabytes of RAM. Therefore, the project included an external 16MB of RAM. While some may argue that we still need more than 16MB of RAM, it isn’t exactly true. The internal 16KB would be used to emulate more of a cache than primary memory.
In a modern computer, memory is just a hierarchy of storage devices. RAM is just a convenient method of doing it. If there isn’t enough RAM, we can always emulate the RAM as well, using virtual memory, which is what most desktop PCs used to do in the past by exploiting some of the hard disk.
From all indications, this project had a 1GB SD card attached to it for storage needs. This included the Linux OS plus file-system. So, it could boot off this SD card and also use part of it as a swap if necessary. Swapping can both be done in the OS or even emulated by the 8-bit micro.
However, the speed of the device would be another limiting factor. Most 8-bit micro communicate with SD cards using the SPI protocol at a maximum clock of 25MHz. This means that it has a theoretical maximum transfer rate of only 3MB per second – about the speed of a 20x CD-ROM drive.
If I were adventurous, I might even emulate a CD-ROM drive. This way, I could run a Live-CD Linux distribution on one partition, while using another partition to emulate a mass storage device such as a hard-disk drive. That might prove interesting as well.
I/O
This is where I think that he had to emulate a lot more stuff. While 8-bit micros may be low on brain power, they are typically full of all sorts of I/O devices. However, the project would need to emulate a whole bunch of things to get Linux started.
I gather from the video that the standard inputs and outputs are routed through the serial port of the AVR. This can typically be done in Linux by simply specifying a kernel parameter console=/dev/ttyS0. Then, the emulator would need to emulate the necessary calls to read from and write to the console.
If he wanted to emulate the mouse and keyboard, it would also be very possible as the PS/2 protocols used have been emulated in 8-bit micros for a while. There are some devices that use 8-bit micros as pretend keyboards and mice e.g. a key-logger or a password dongle.
If he wanted to emulate a video card, it is also possible as 8-bit micros have been used to generate full frame video in emulation, largely by using PWM signals to emulate the analogue signals of a VGA connection. While it will be severely speed limited, it should be able to do at least a low-level VGA frame buffer.
He could even go as far as adding in ethernet if he so wished. Some 8-bit micros these days have built in ethernet MACs. However, adding USB host capability might be a bit tricky as most 8-bit micros do not have USB OTG capabilities as yet.
So, there we have it. A quick and dirty run-down of it.
I have already been using virt-io for hard-disk emulation in my guest machines under KVM. However, I have never tried virt-io networking before. Seeing that I wanted to upgrade my machines, I thought that I’d give it a try and this is where I noticed the speed bump.
Following some of the instructions at the lib-virt page, I got virt-io networking working for all my VMs. This is the result:
As you can see, more than a 200% increase in through-put.
What is more amazing is that this increased bandwidth is not shared directly. This means that two guest VMs running under the same host both enjoy a 100Mbps speed simultaneously, not 100Mbps shared across the two. This is a massive performance boost, especially inter-VM.
Lesson learned – ALWAYS use virt-io for all I/O operations under KVM/libvirt.
There are a number of ways to increase the hard-disk size of a VM once it is provisioned, without rebuilding the VM. The chief way of doing it is via LVM and I love it.
My setup uses KVM on the host with all disk images stored in a LVM pool. In each VM, the main hard-disk is also using LVM as well, which is perfect.
To increase the size of the VM, I do this:
Stop the VM.
Just so I don’t screw anything up accidentally, I will stop the VM.
Extend the volume in the host.
This increases the size of the disk on the host: lvextend -L+10G /dev/lvmpool0/volumename
Startup the VM.
It should reflect the new disk size. Check this by using fdisk or similar tool.
Partition the empty space.
Preferably, use a Logical partition. Remember to set the partition type to ‘8E’ for Linux LVM.
Reboot the VM.
To ensure the disk changes are read. VMs sometimes have issues with this.
Create the new PV.
Ready the new partition: pvcreate /dev/hdaX
Extend the VG to this PV.
This will append the PV to the existing VG instead of creating a new VG: vgextend vgname /dev/hdaX
Find out the amount of free space.
This is needed for the next step. vgdisplay will show the amount of Free PE.
Extend the Logical Volume in this VG.
The VG can be extended to any size, or up to the maximum free space above: lvextend -l + XXXX /dev/vgname/lvname
Resize the File System.
This is the final step to using the new disk: resize2fs /dev/vgname/lvname
There are many work-flows for web-development and there exists many different deployment environments for web-applications. Therefore, I have found that it is important to have a suitable development environment where web-applications can be developed, validated and verified before being sent to production.
A typical web-developer might either test the application on their own development machines or they might have access to a development server for testing. In the first case, there might be subtle differences between their own machines and the production environment. Therefore, testing applications this way is not very useful. In the second case, there may not be sufficient isolation between multiple developers on the development server – be it database access or file system access. So, there is the possibility of destructive collaborations.
One solution that I think might be suitable is the use of virtualisation. VirtualBox is particularly suitable for this because it is able to access a shared folder on the host machine from within the guest virtual machine. So, code can be developed locally and tested locally on a VM running locally. The VM images themselves can be set up by the system admin to be a complete clone of the production environment. In this case, the test environment approximates the final deployment environment while there is enough isolation to avoid clobbering each others’ work.
The only catch would be the required additional computing resources. However, most modern computers are able to handle virtualisation very well. In fact, I began using virtualisation in 2004 and have no complaints with regards to web-application performance because these things are not simulating the stars in the universe. They are just doing simple jobs for the purpose of testing functionality.
So, I would recommend the use of VirtualBox for development purposes.
As an open-source advocate and Linux developer, I sometimes face the problem on creating websites that do not work correctly in IE because it is a borked browser. While IE is fast losing its market share to other browsers, it is still the dominant PC desktop browser and needs to be supported by any web applications that I develop.
To that end, I need to make sure that my code works on IE and these are the two steps that I recommend.
Firstly, use the X-UA-Compatible meta tag to ensure that IE works in a more standards compliant mode. This meta tag can be set either by the web-server or it can be set in the HTML header section itself. It is simple, just stick the following code in the header section of any HTML page:
<meta http-equiv="X-UA-Compatible" content="IE=8">
There are a number of parameters that are possible and these are described in the appropriate knowledge base page. The important thing is to ensure that your site adheres to web standards and to set the compatibility mode to IE8, which is the most standards compliant IE browser at the moment.
The next gem that I recently discovered is the availability of IE8 testing images from Microsoft. Turns out that Microsoft provides VPC images that can be used to run special VMs that can be used to test websites under IE8 rendering. Since I do not use VPC, I had to tweak things a little and run things under VirtualBox instead.
Even then, there are a couple of gotchas to note:
First, it is essential that the network drivers be installed when the VM is first booted. This is to allow the VM to activate itself online. Otherwise, on a second bootup, the VM will not allow the user to login because it is not activated, and will not be able to activate itself because it is not online – an infinite loop.
To do this, once the VirtualBox machine is booted and the Guest Additions disc is inserted, run the following command:
D:\VBoxWindowsAdditions-x86.exe /extract /D=C:\Drivers
Immediately after that, use the Windows Add/Remove Hardware wizard to detect the new network card and specify the drivers manually. They will reside in the earlier subdirectory. Once this is done, bridge the VMs network to your existing Internet network and ensure that the network settings are all working. Launch an instance of IE8 to see if the site works correctly.
Then, after a reboot, the VM will insist on activating itself online. If the network was working correctly earlier, just proceed with the activation. It works after that like any normal Windows except that it will display an “evaluation” notice on the desktop.
This is a good solution to work with IE8 development on Linux.
 As an open-source advocate and Linux developer, I sometimes face the problem on creating websites that do not work correctly in IE because it is a borked browser. While IE is fast losing its market share to other browsers, it is still the dominant PC desktop browser and needs to be supported by any web applications that I develop.